MQTTX
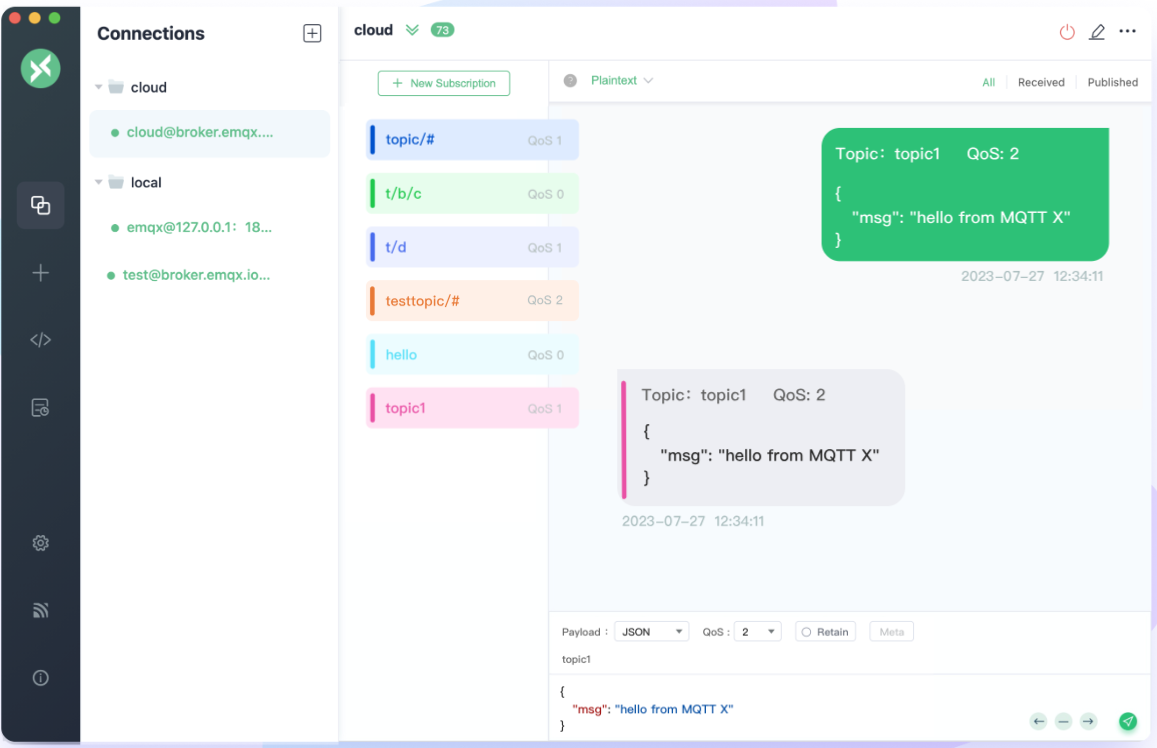
MQTTX is All-in-One MQTT Client Toolbox, used for MQTT Message Queue . Eclipse Mosquitto is an open source implementation of a server for versions 5, 3.1.1, and 3.1 of the MQTT protocol.
Prepare
When referring to this document to use MQTTX, please read and ensure the following points:
-
Login to Websoft9 Console and find or install MQTTX:
- Go to My Apps listing applications
- Go to App Store installing target application
-
This application is installed by Websoft9 console.
-
The purpose of this application complies with the apache2 open source license agreement.
-
Configure the domain name or server security group opens external network ports for application access.
Getting started
Login Verification
-
Complete the installation of MQTTX via the Websoft9 console, and get the applicaiton's overview and access information from "My Apps"
-
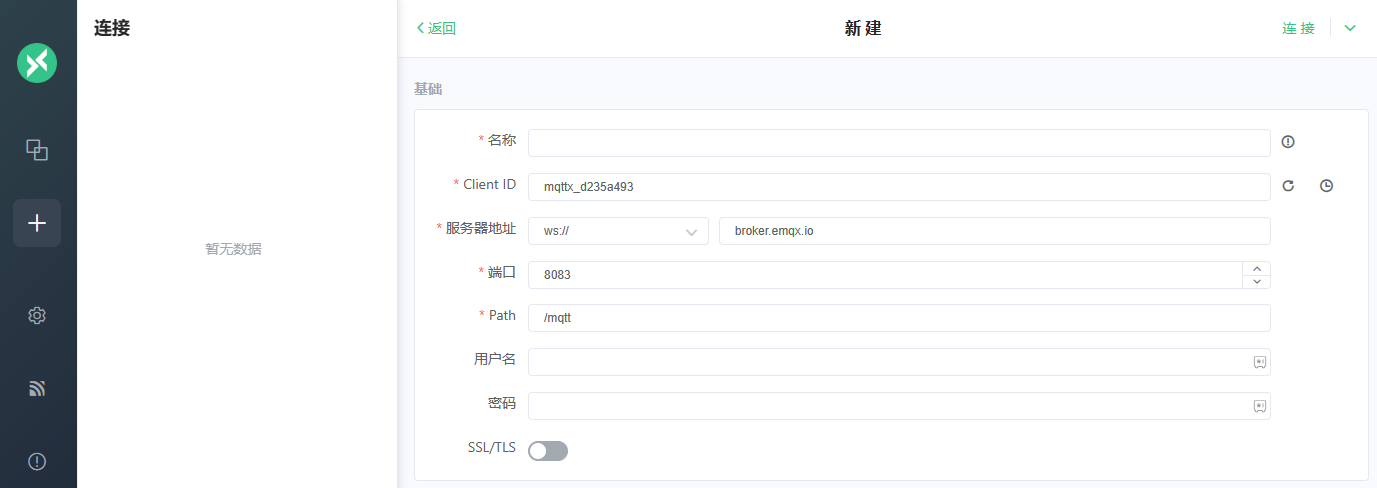
Create a connection in the MQTTX console
- The client ID is automatically generated
- Server address: Use the protocol, address, and port values from the connected service.
Integrate RabbitMQ
-
Prepare RabbitMQ
- Install RabbitMQ from the Websoft9 App Store
- Enable the RabbitMQ plugins using the following commands:
rabbitmq-plugins enable rabbitmq_mqtt
rabbitmq-plugins enable rabbitmq_web_mqtt
-
Create a new RabbiMQ connection in MQTTX to verify the accuracy of the host, port, account, and connection protocol.
Integrate EMQX
-
Prepare EMQX
- Install EMQX from the Websoft9 App Store
- Open the EMQX Dashboard, navigate to "Problem Analysis">"WebSocket Client", and configure the username, password, and protocol version for the default WebSocket connection
-
Create a new EMQX connection in MQTTX to verify the accuracy of the host, port, account, and connection protocol.
Configuration options
- Multilingual (√)